Create a tenant
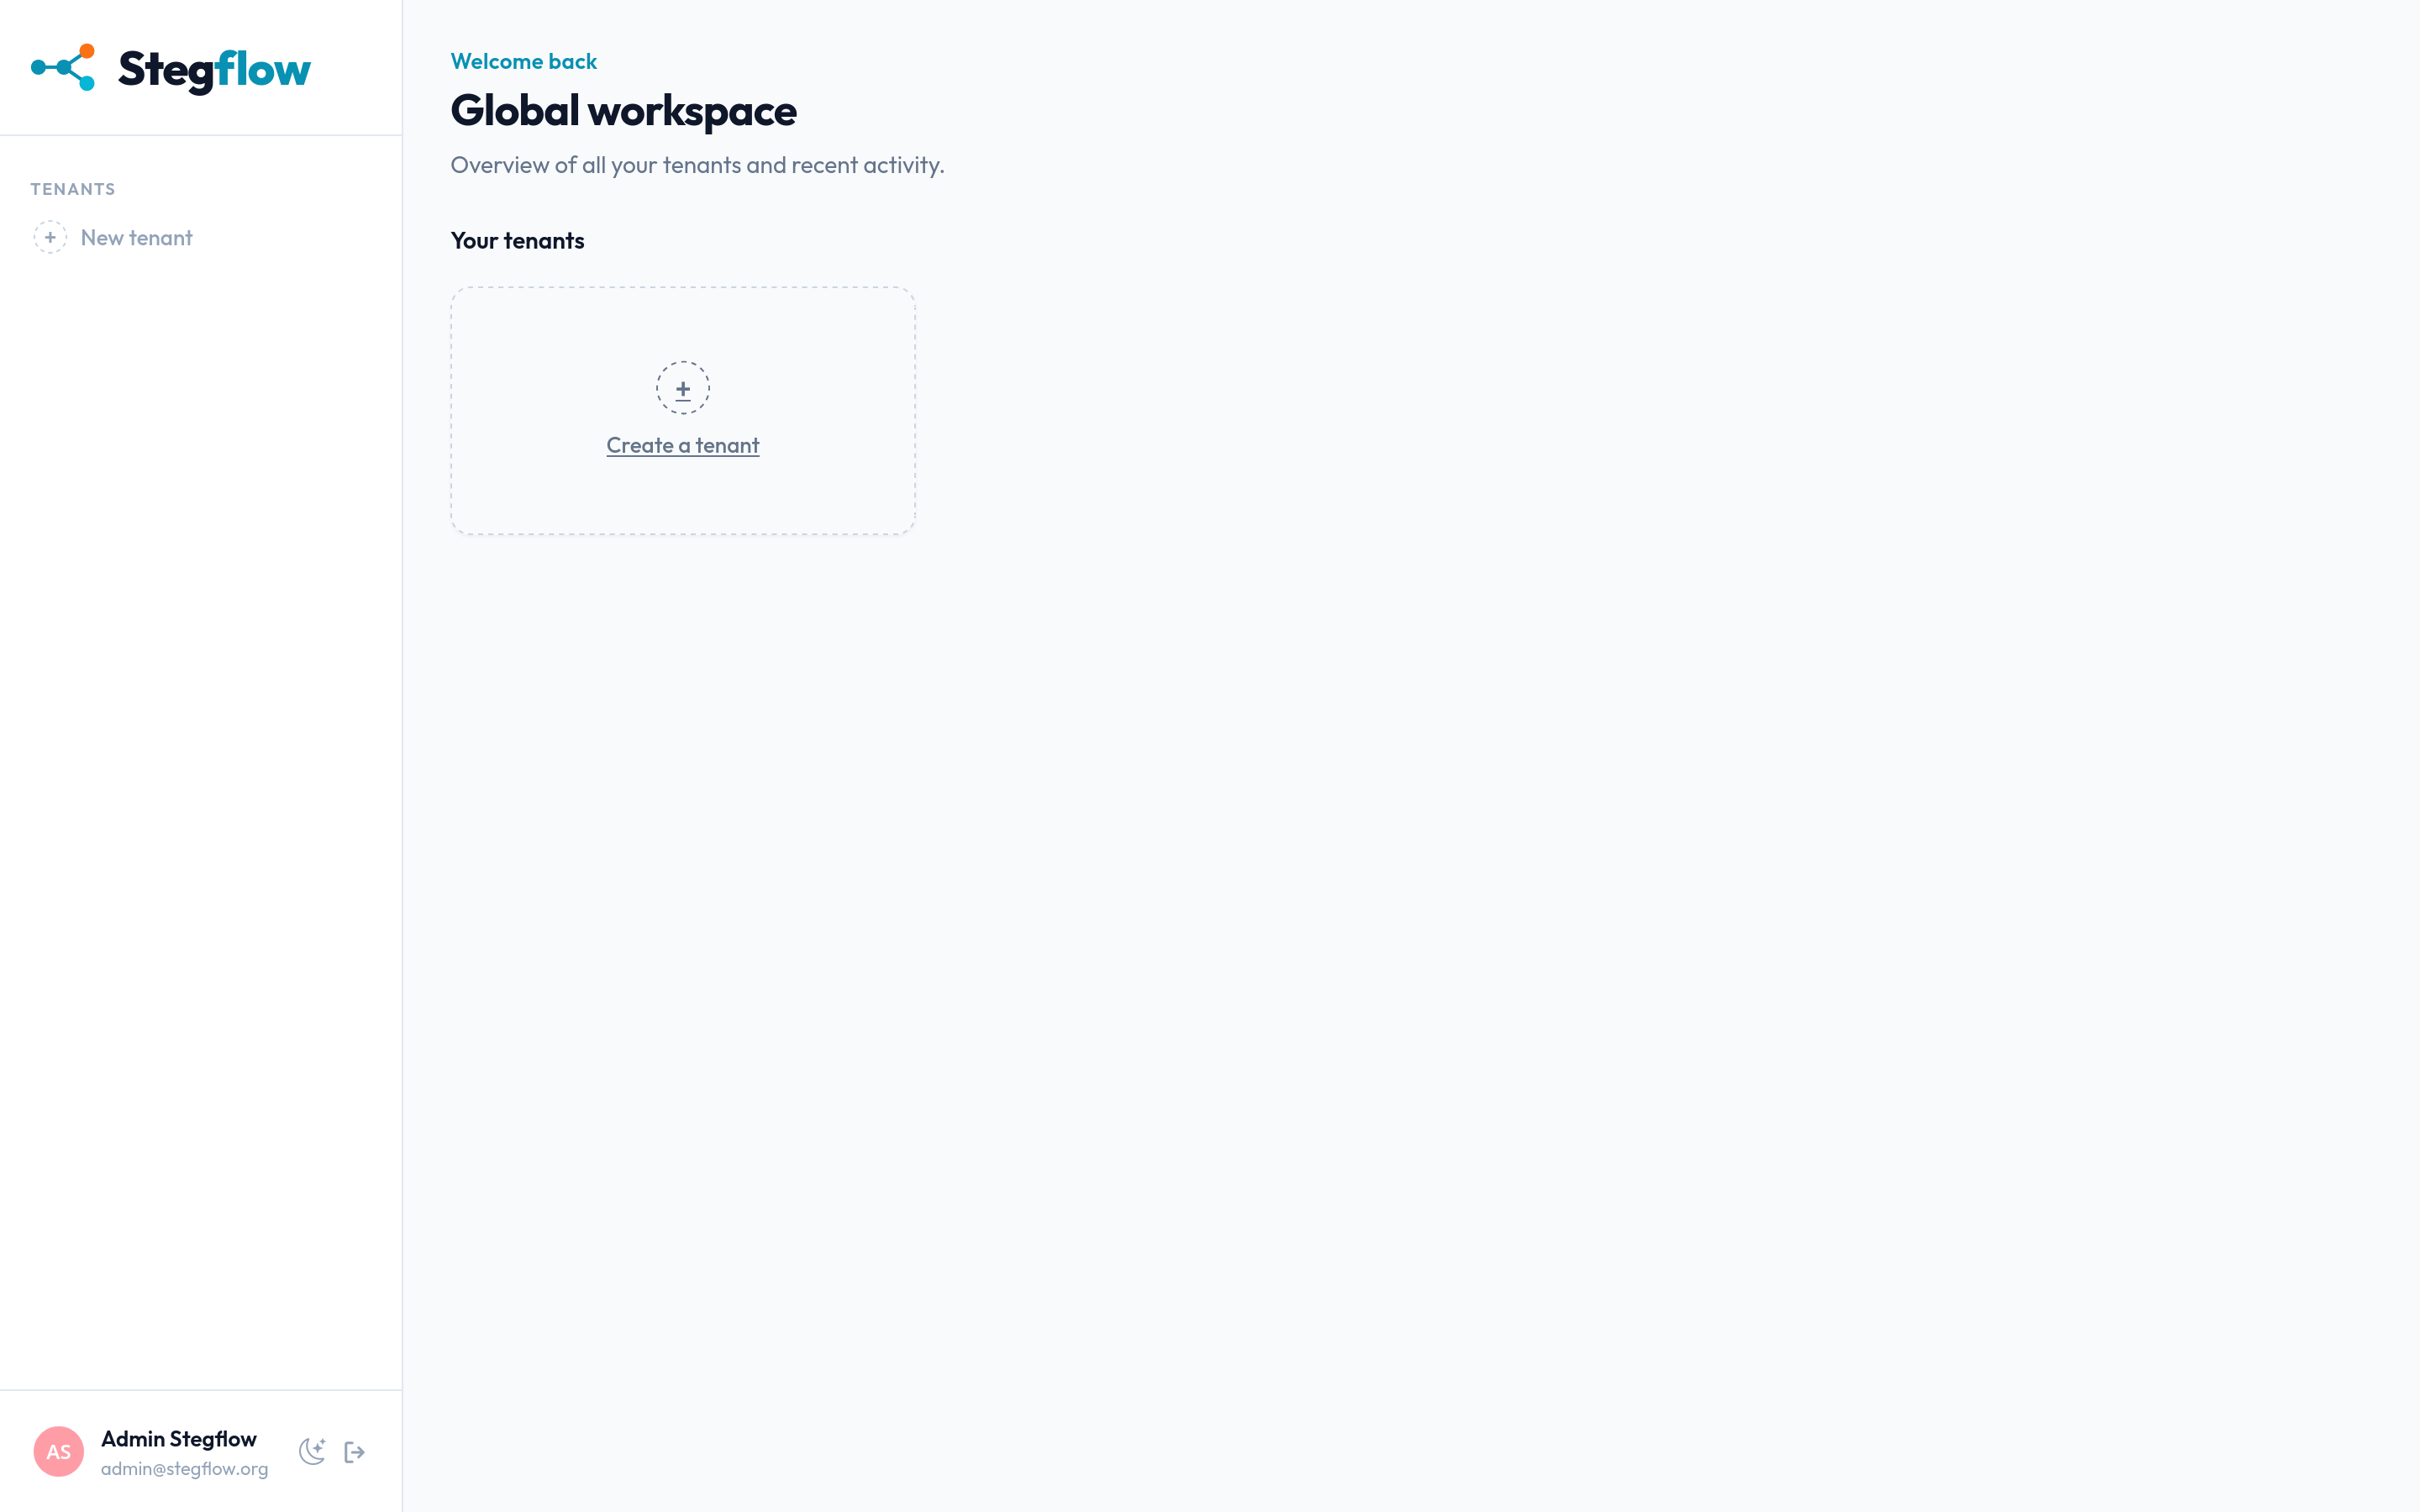
A tenant is an isolated workspace. Every workflow, execution, activity, role and policy you create lives in exactly one tenant, and tenants never see each other's data. Creating one is the first thing to do after you sign in. This guide creates a tenant from the console.
Prerequisites
- A running Stegflow instance you are signed in to (see Getting started).
- Permission to create tenants. By default any signed-in user may, up to a per-user quota (
STEGFLOW_Engine__MaxTenantsAllowed, default2). An operator can restrict creation to global administrators or change the quota (see Configuration).
Steps
1. Open the new-tenant form
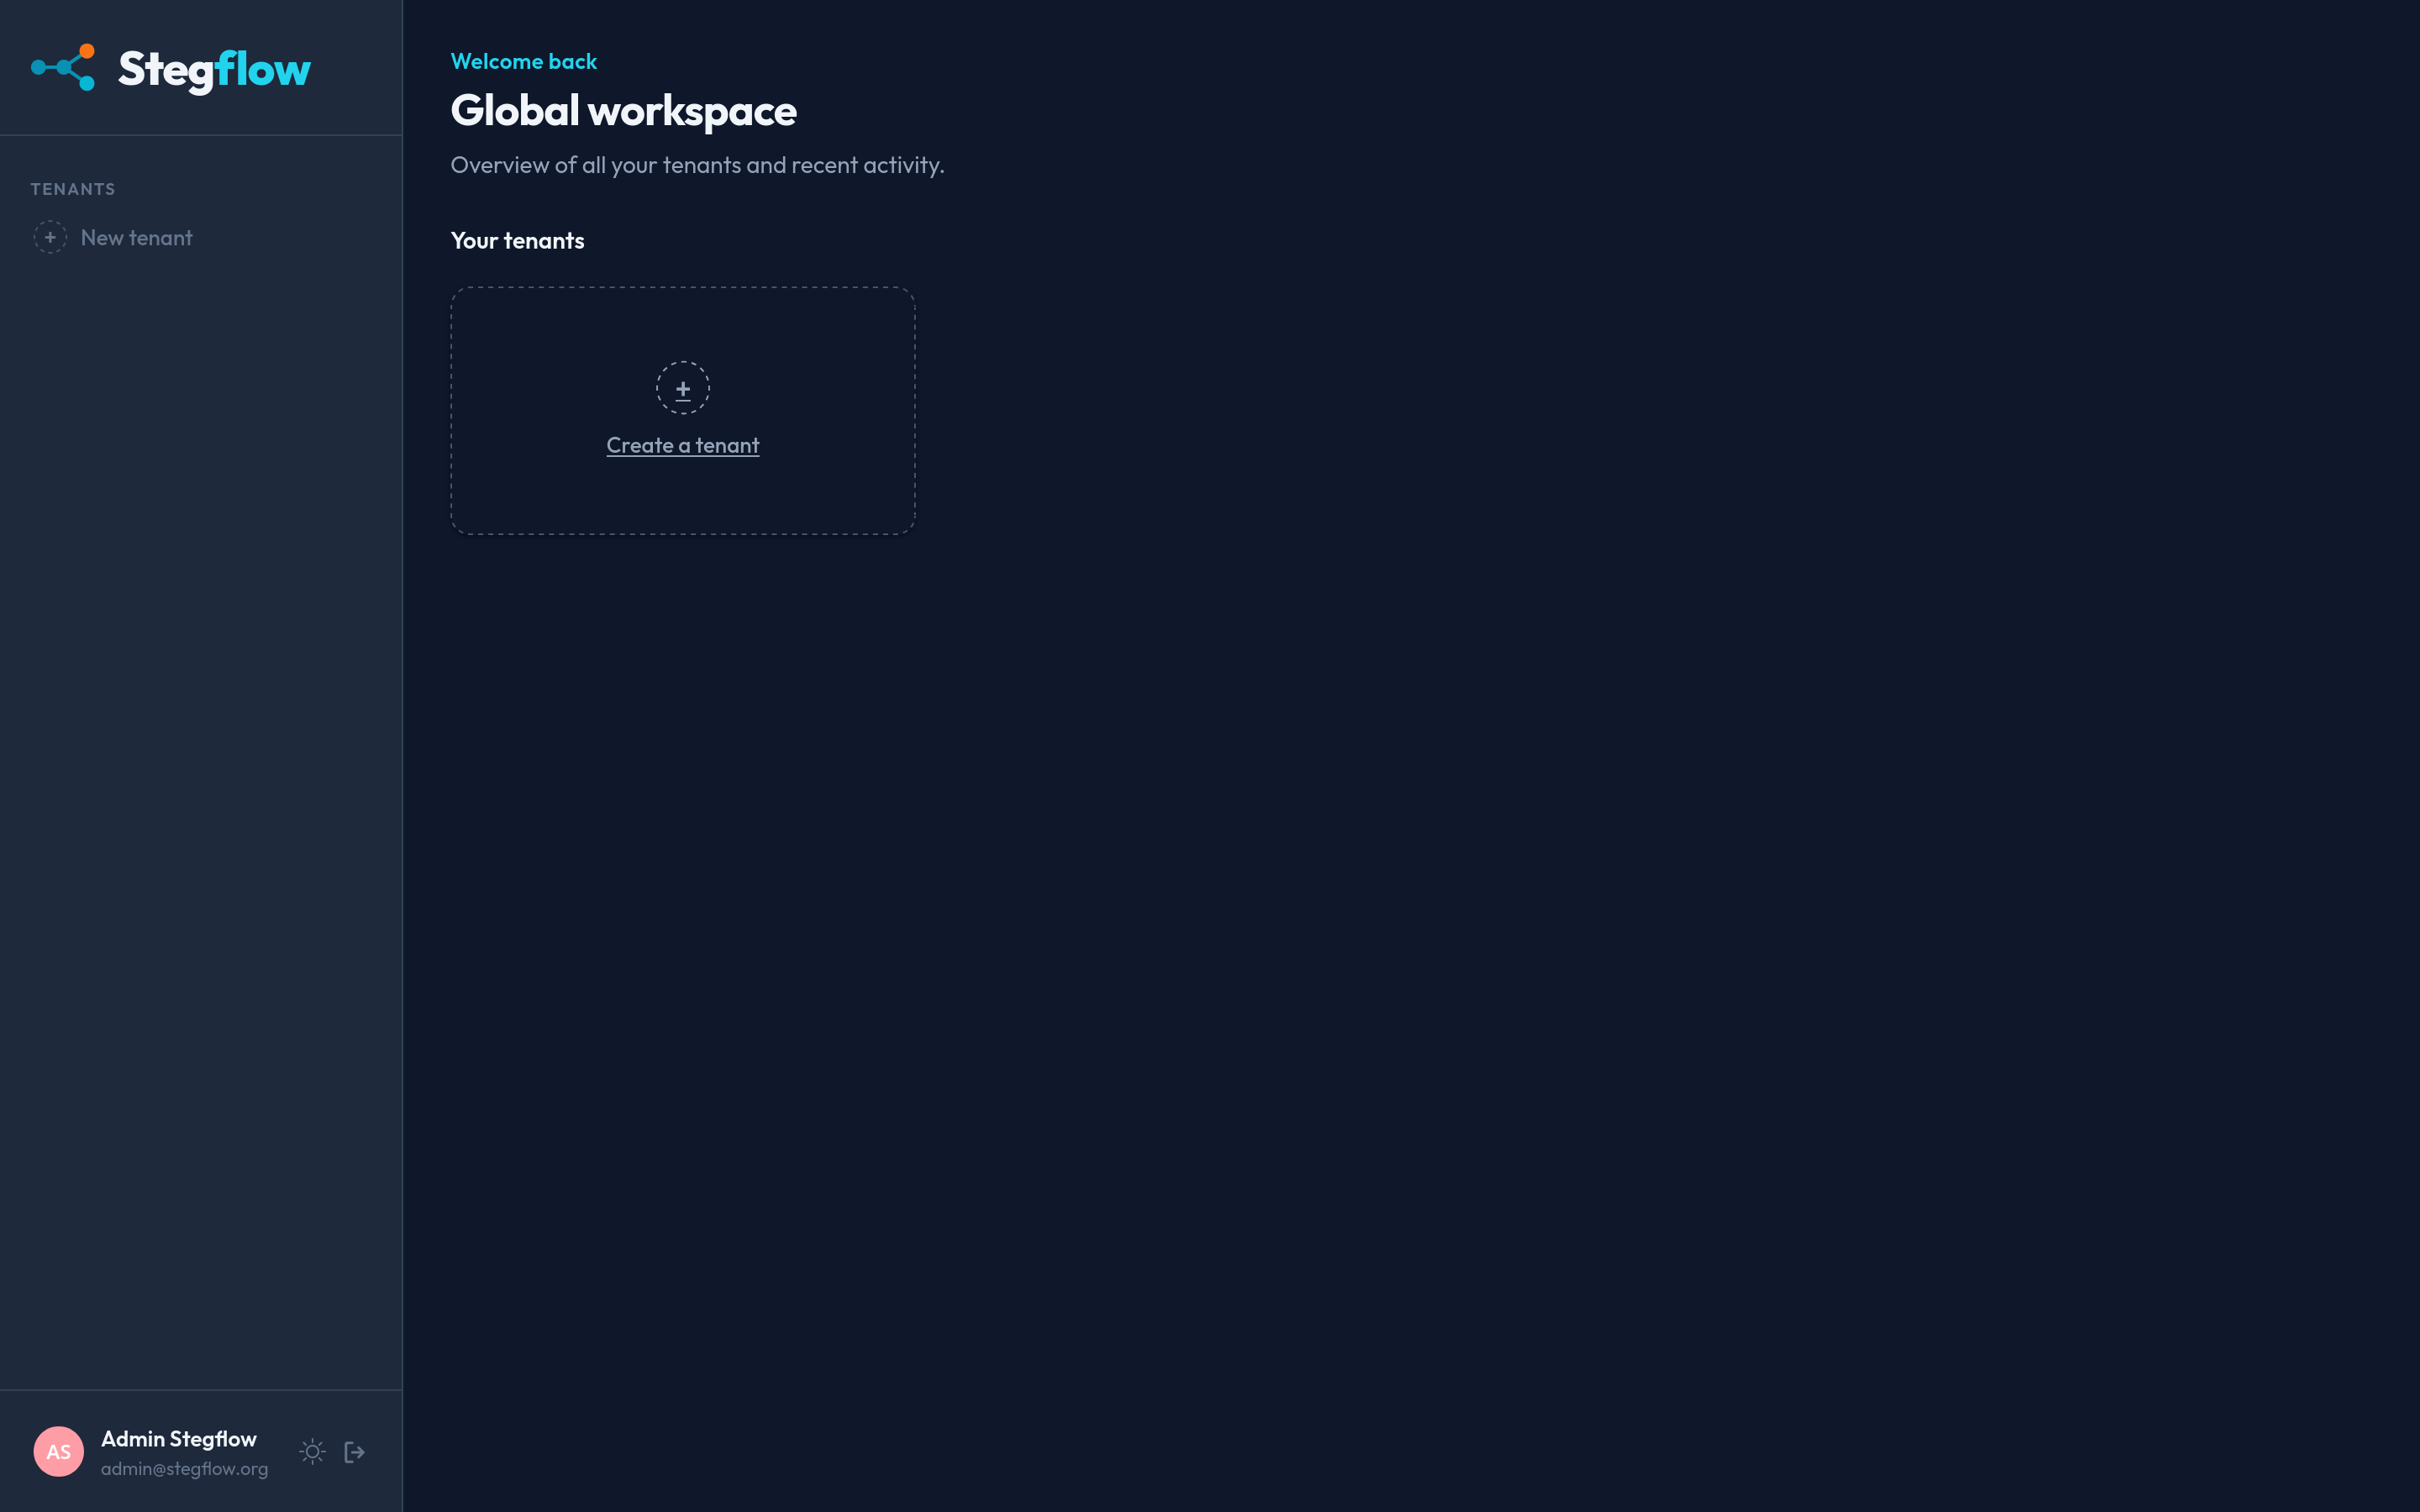
In the console's Global workspace, click Create a tenant (or New tenant in the sidebar).
2. Fill in the details
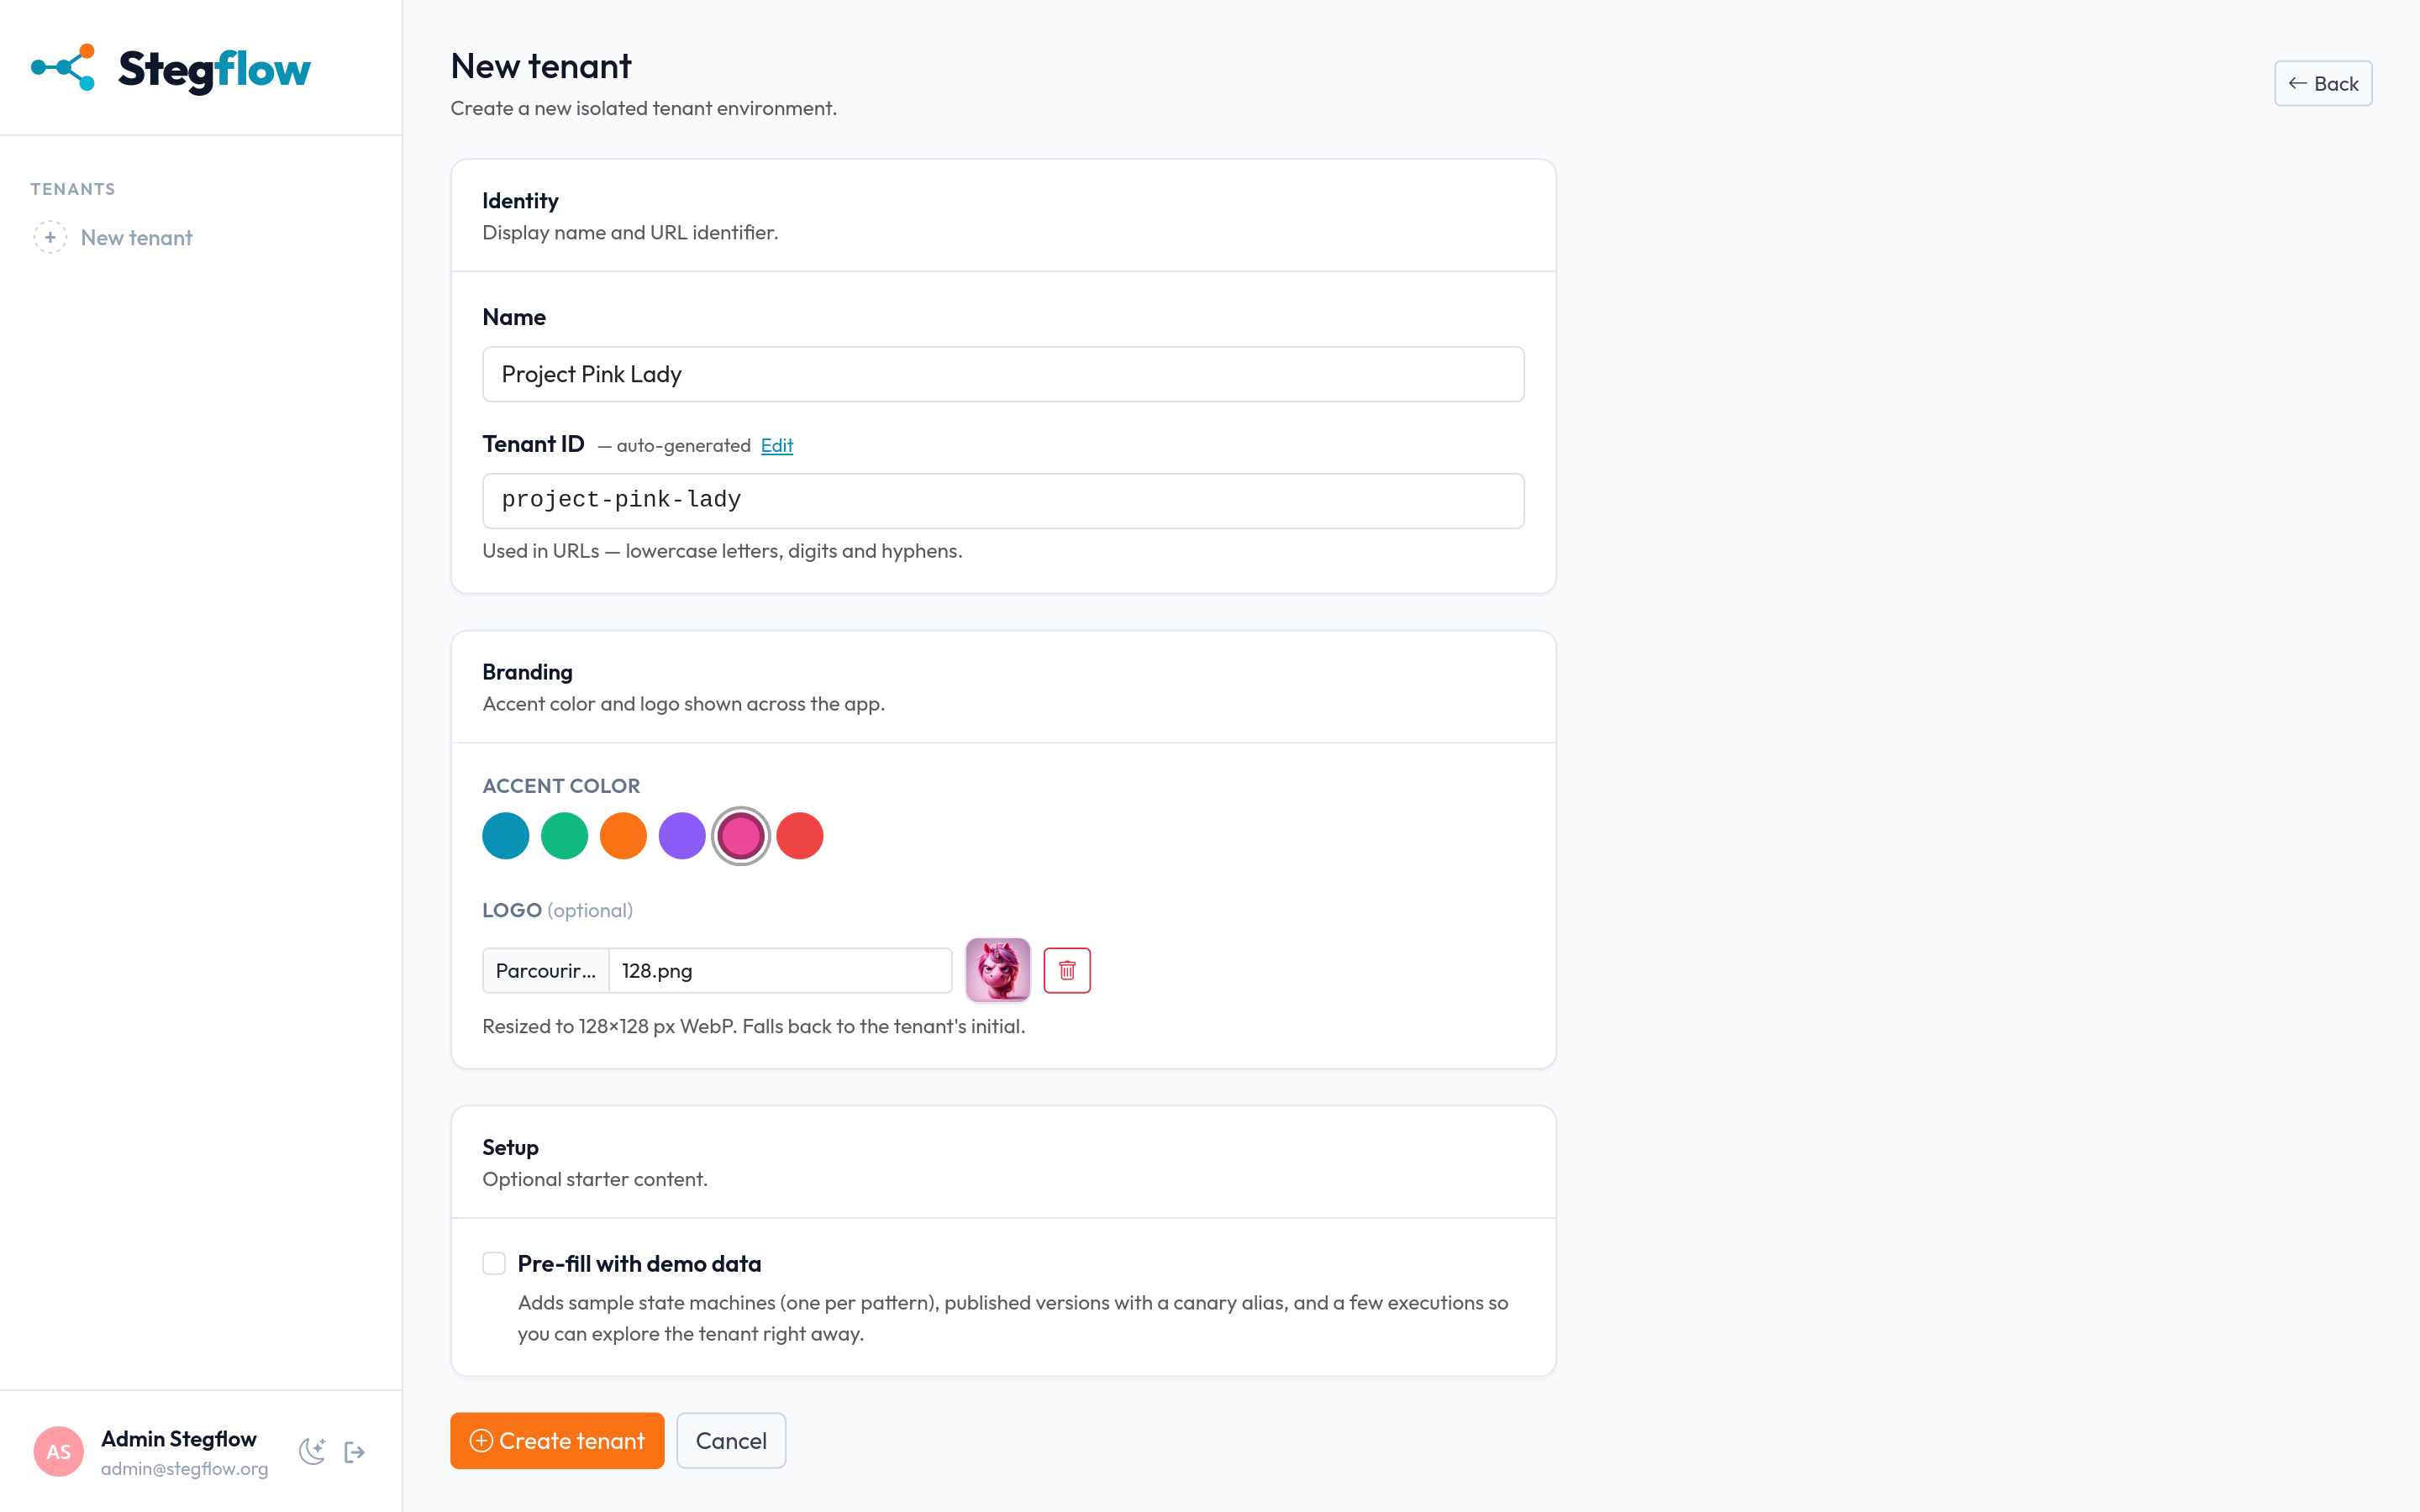
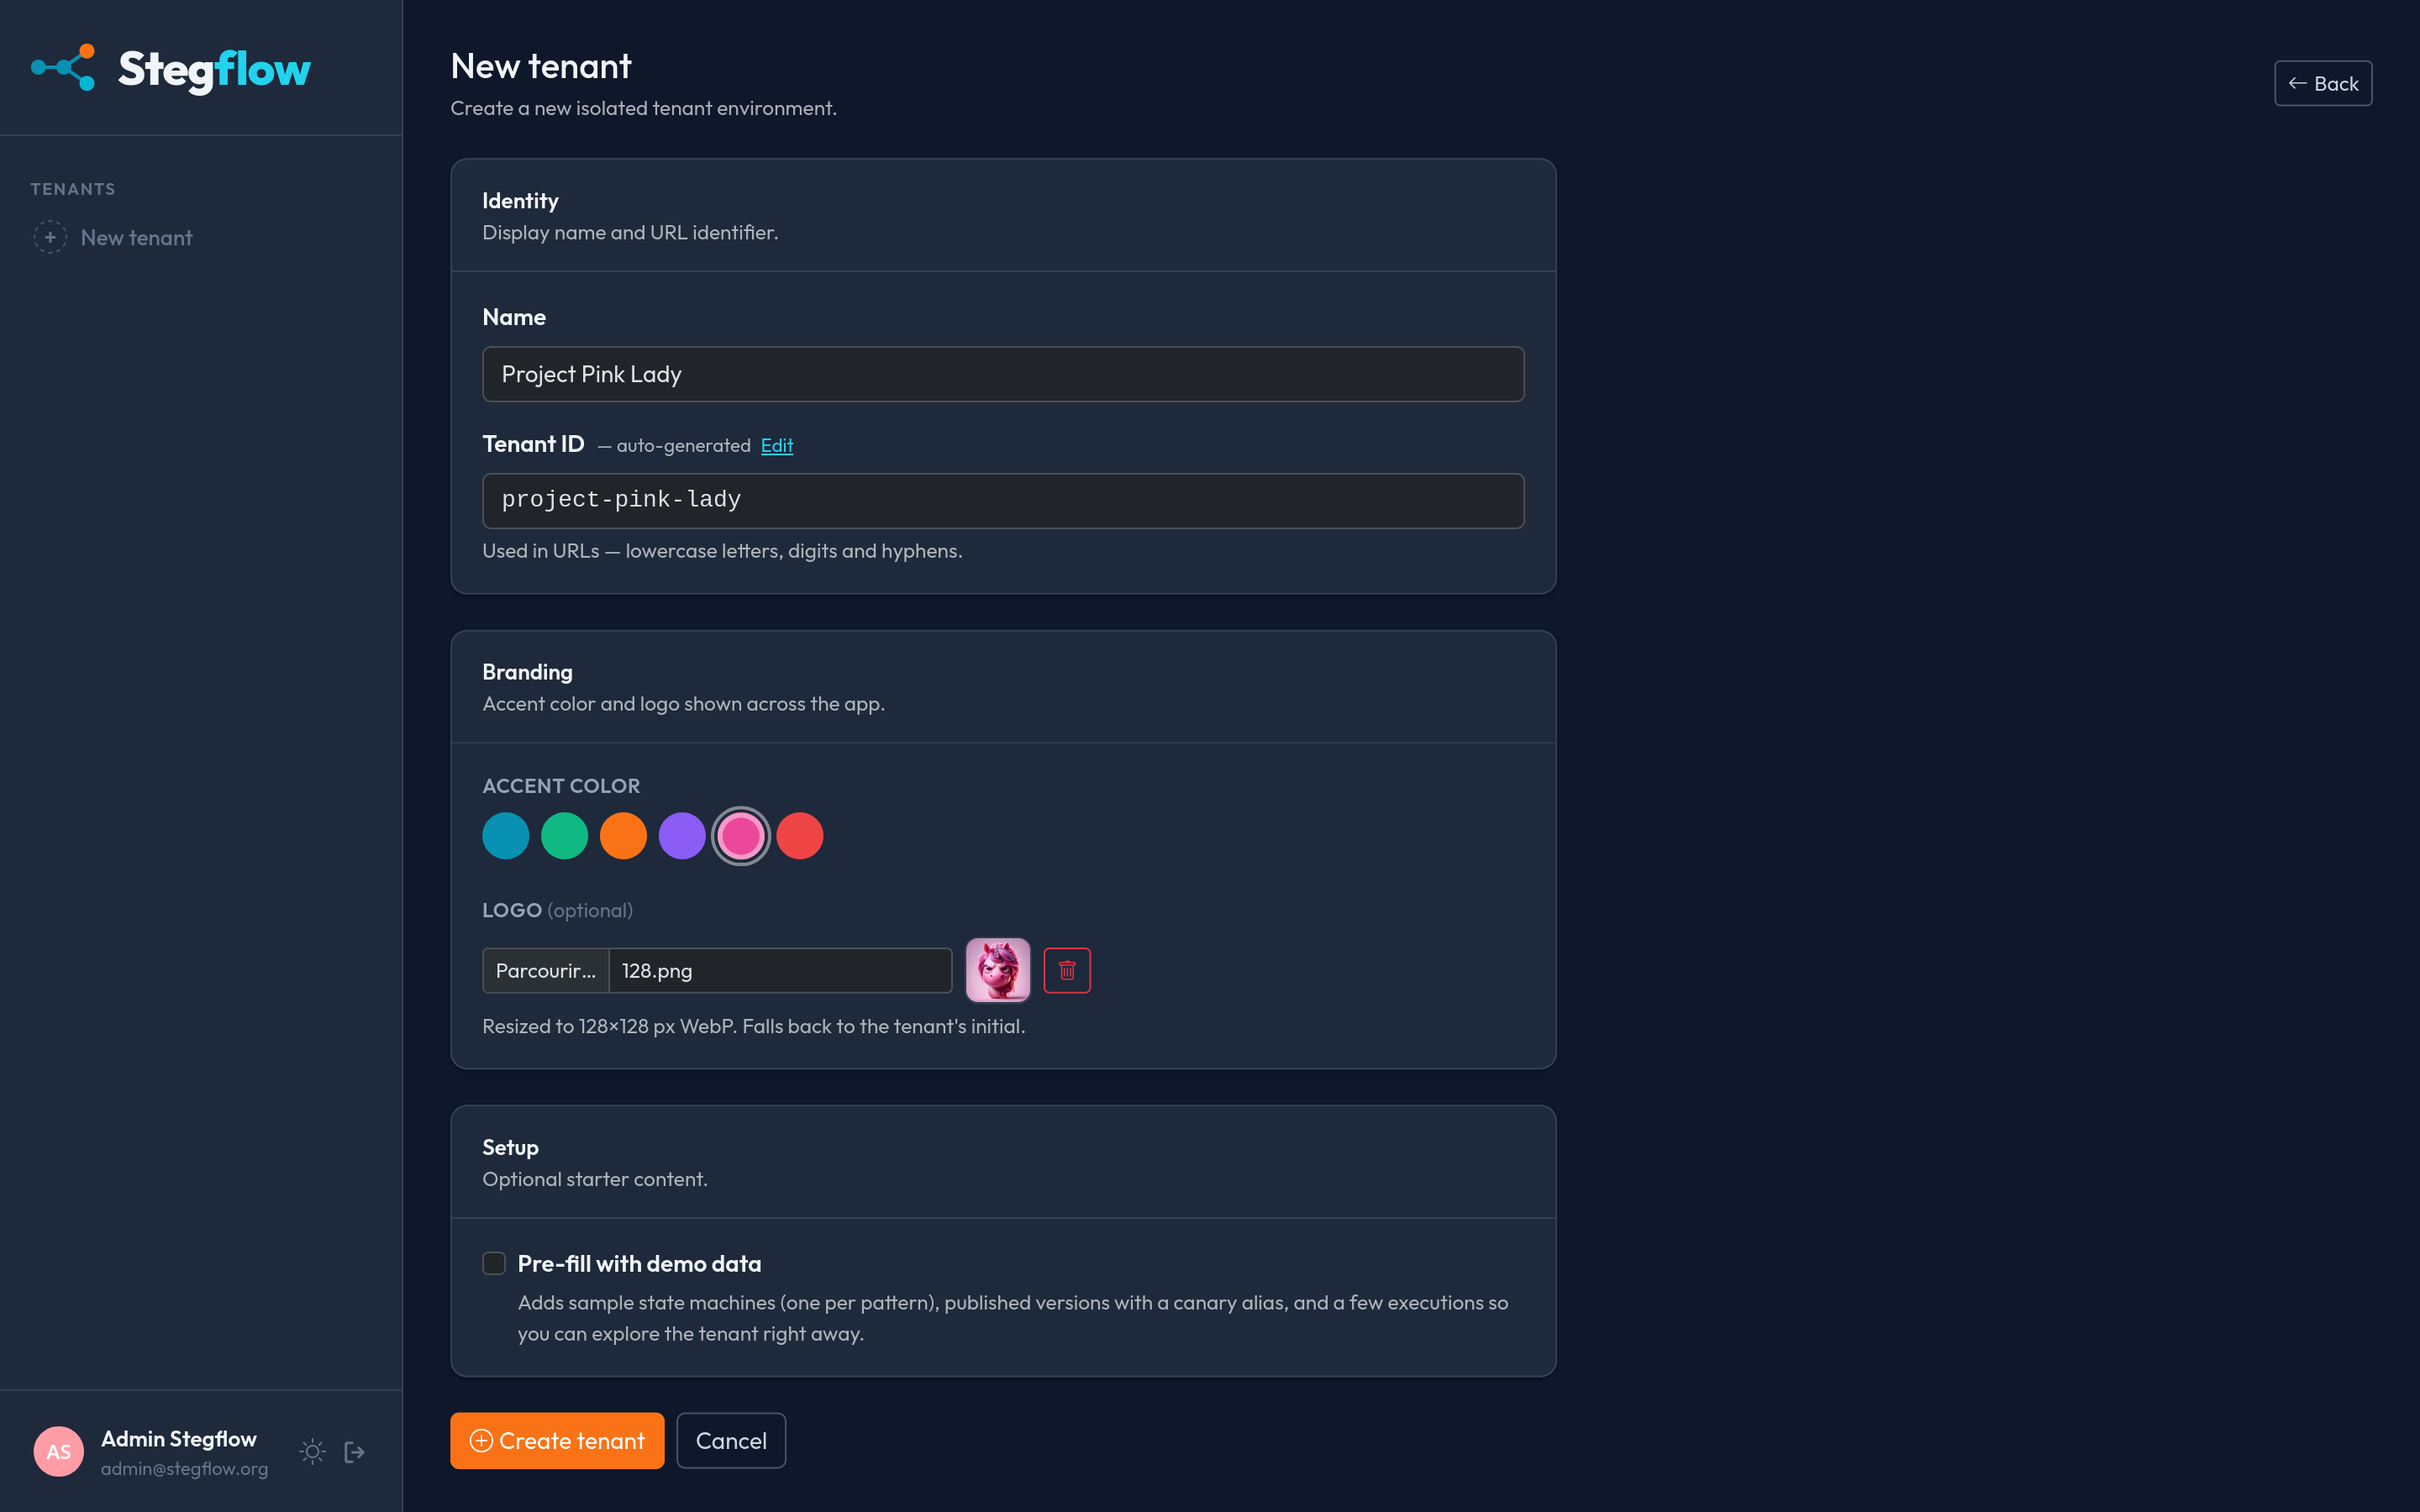
- Name: the tenant's display name, shown across the app.
- Tenant ID: the URL identifier (lowercase letters, digits and hyphens). It is auto-generated from the name; you can overwrite the proposed value. Choose it carefully, it will never change.
- Optionally pick an accent color and a logo under Branding, and enable Pre-fill with demo data under Setup to start with ready-made examples.
3. Create
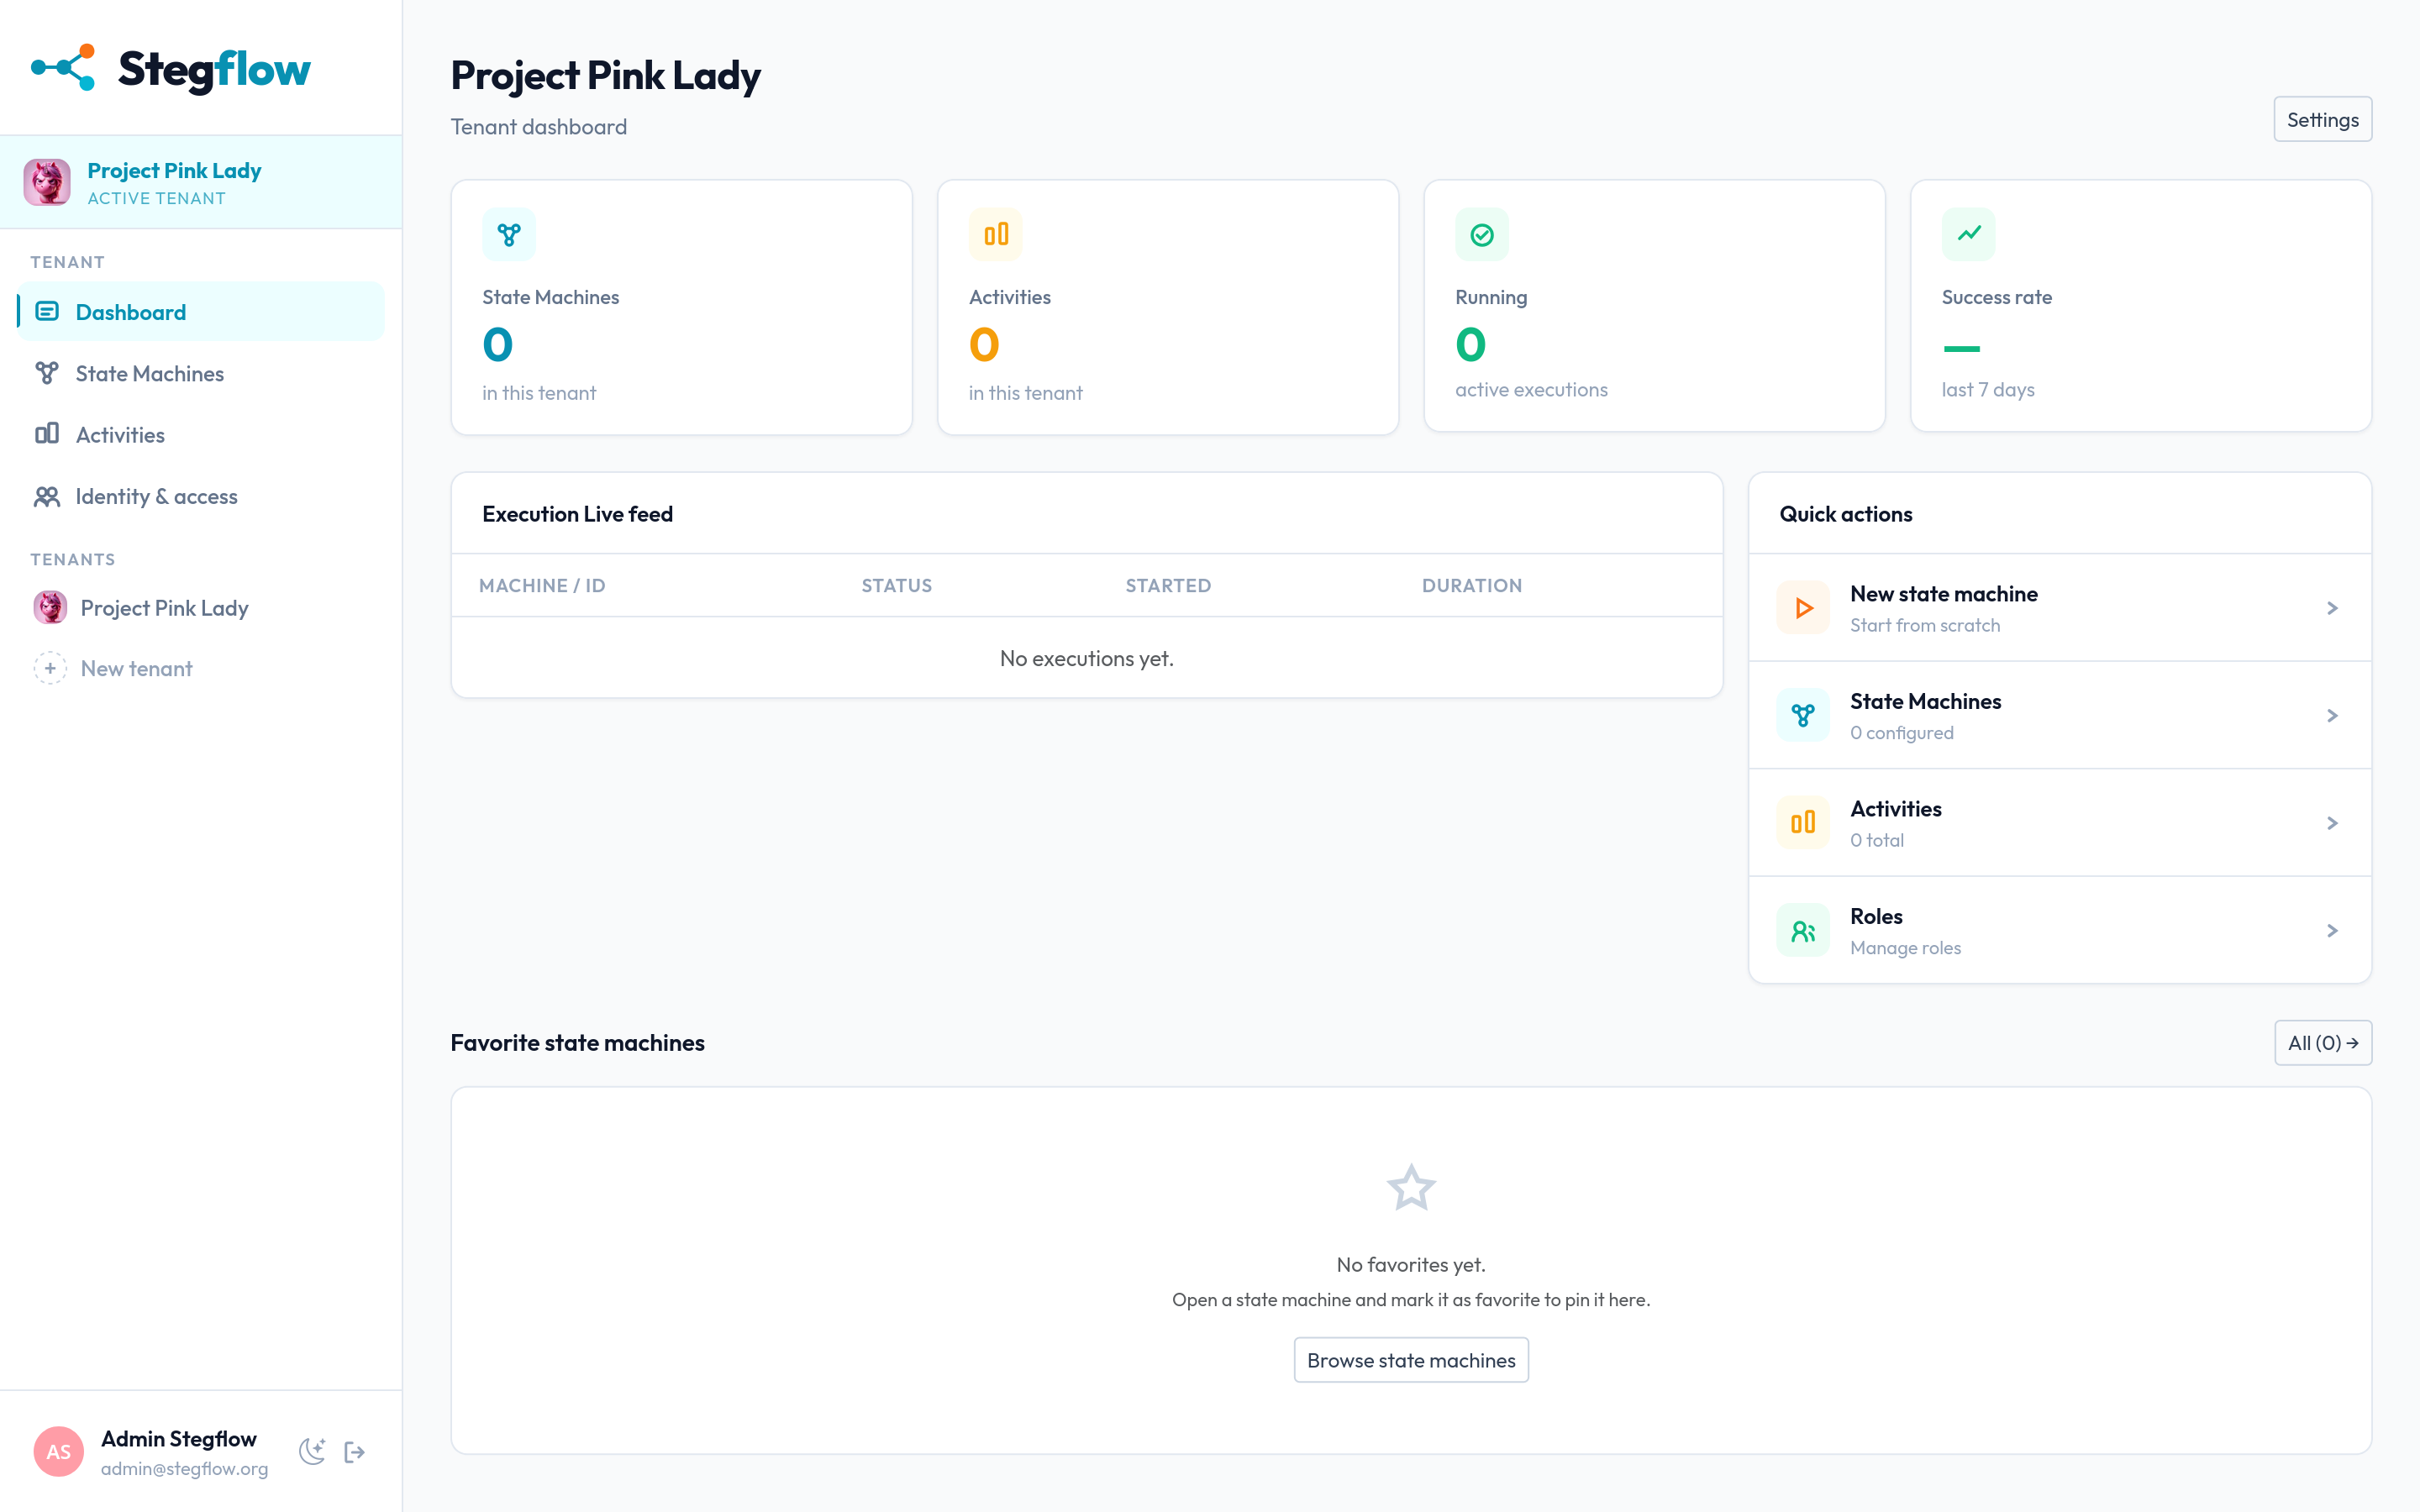
Click Create tenant. You become the tenant's owner with administrator access, and Stegflow seeds its default roles, groups and policies. The tenant opens on its dashboard.
Pre-fill with demo data to explore
It adds sample state machines (one per pattern), published versions with a canary alias, and a few executions, so you can look around right away. Leave it off for a clean tenant.
Result
The tenant is ready and selected. From here you can create a role and build workflows. Everything you do stays inside this tenant.